Picture Frame Designer
About
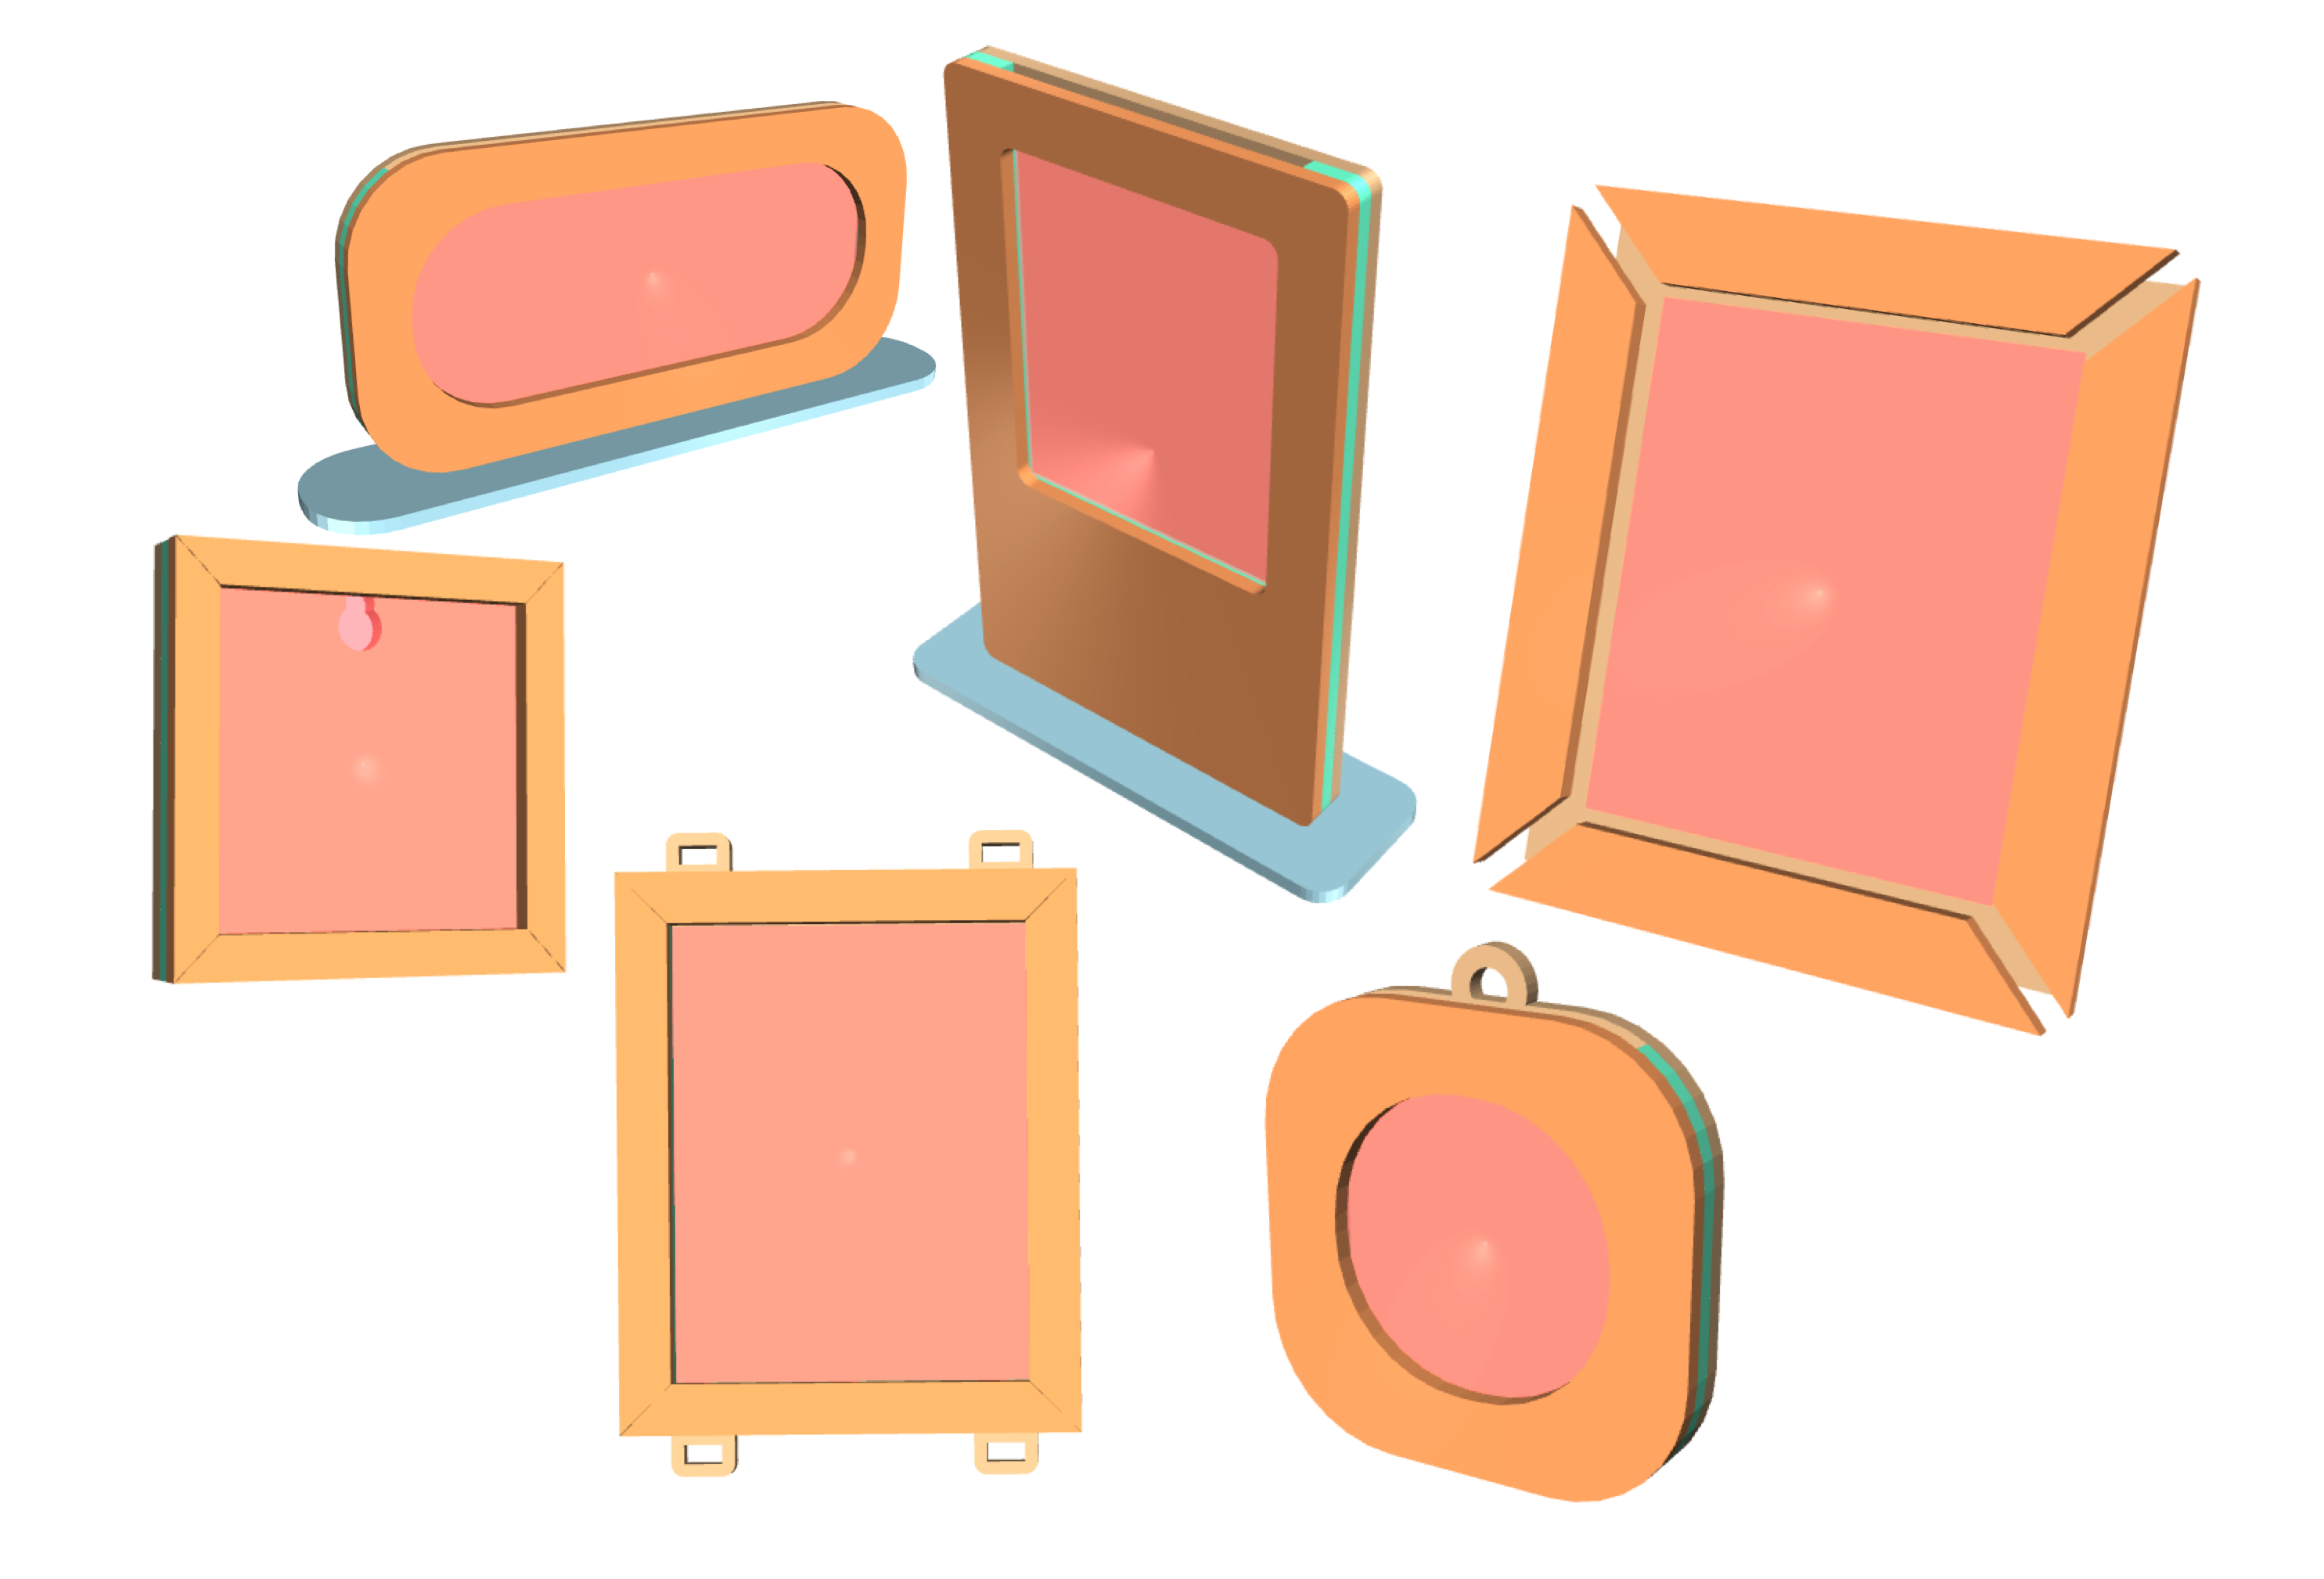
Picture Frame Designer is an indirect 3D modeling tool tailored specifically for laser cutters. Customization is facilitated through an intuitive menu with customizable parameters.
Features:
- IN and MM unit versions available.
- 45 deg mitered and radius corner frame/border with custom width option.
- Custom material thickness.
- Optional bottom panel extension allowing space for custom engravings.
- Configurable wall mount hole.
- Square and Round ‘hanger’ loops allow picture frames to hang from twine, ribbon, paracord, or leather straps. Useful for vertical picture galleries or even Christmas ornaments.
- 1,2,3 layer configurations.
- Optional base stand for free-standing picture frames.
While this generator is primarily designed for laser cutter/engravers, the exported SVG (2D) and STL (3D) files are versatile and can be adapted for CNC tools and 3D printers as well.
The Picture Frame Designer script operates within the powerful JSCAD environment—an open-source project that enables parametric 3D modeling through code. Check it out here: JSCAD.
Menu Parameters
COMMON
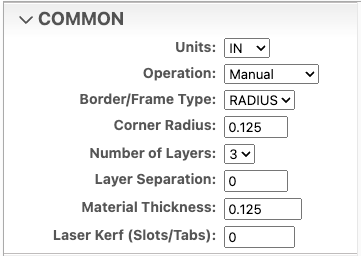
Units
units of measure are in either in inches or mm millimeters.
While you can switch between inches and millimeters during design, the generator doesn’t automatically convert the input values to the new unit, so adjustments must be made manually. Cutgen offers separate design generator options for both ‘IN’ and ‘MM’ measurements, each with pre-set default values. For an optimal experience, we recommend choosing a single measurement unit and avoiding switching between them.
Operation
How the film and picture frame/border interaction/sizing is controlled.
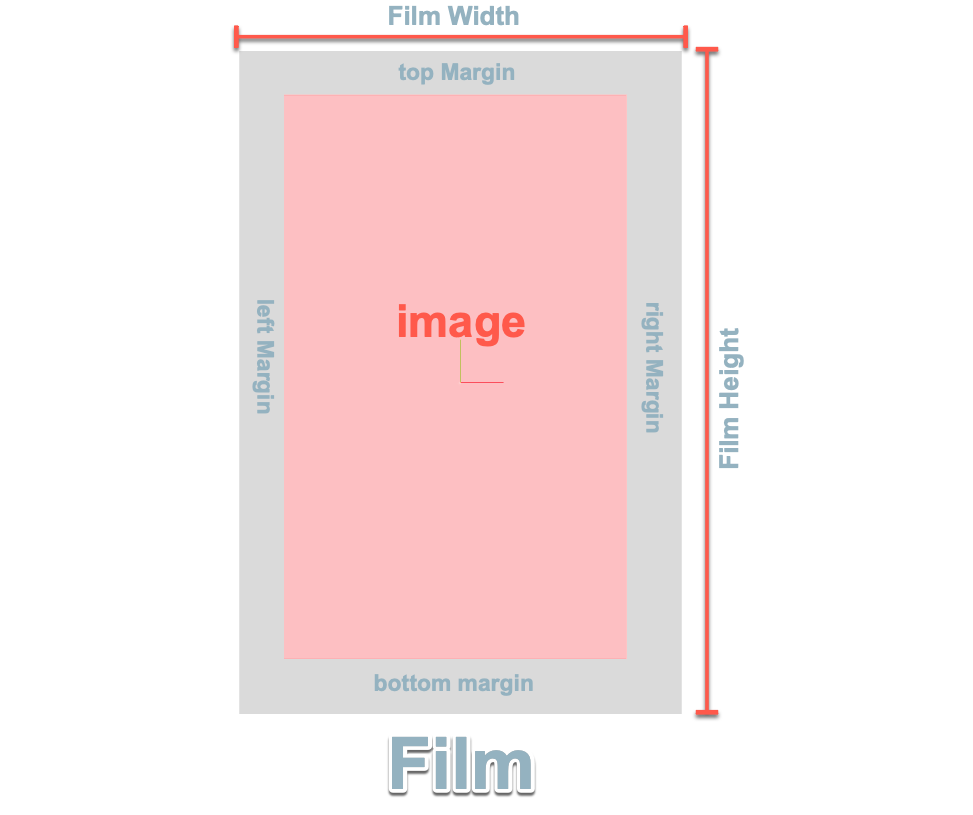
The Film is the physical medium and the image exists within the film. The majoirty of photos taken on a camera, the image covers the entire surface of the film. Images of Polaroid pictures have margins/space around them.
Dropdown menu options include:
Manual
User set parameters control how the film fits within the frame/border.
Fit to Film
Fit to Image
Border/Frame Type
The style of the border/frame that surrounds the film.
Dropdown menu options include:
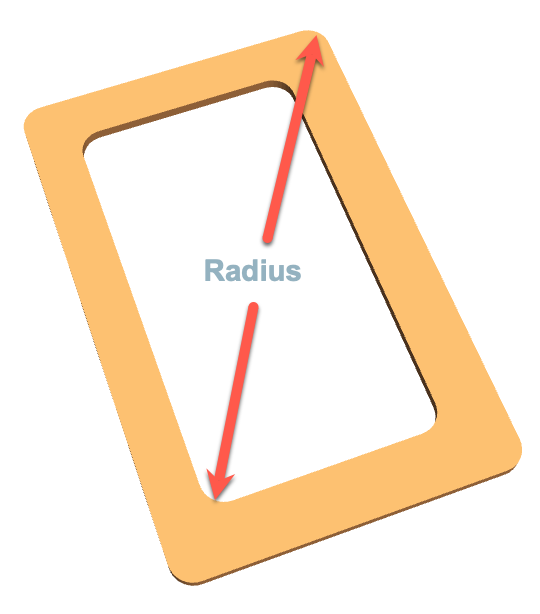
RADIUS
Inside and Outside corner radius.
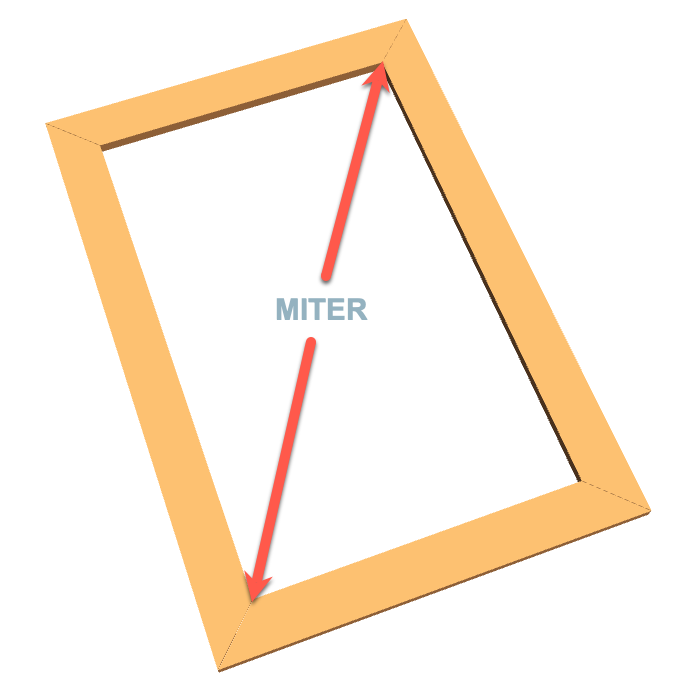
MITER
45 degree mitered corners. Provides a traditional picture frame border.
NOTE: Bottom panel feature is not available with mitered corners.
Corner Radius
inside and outside corner radius value.
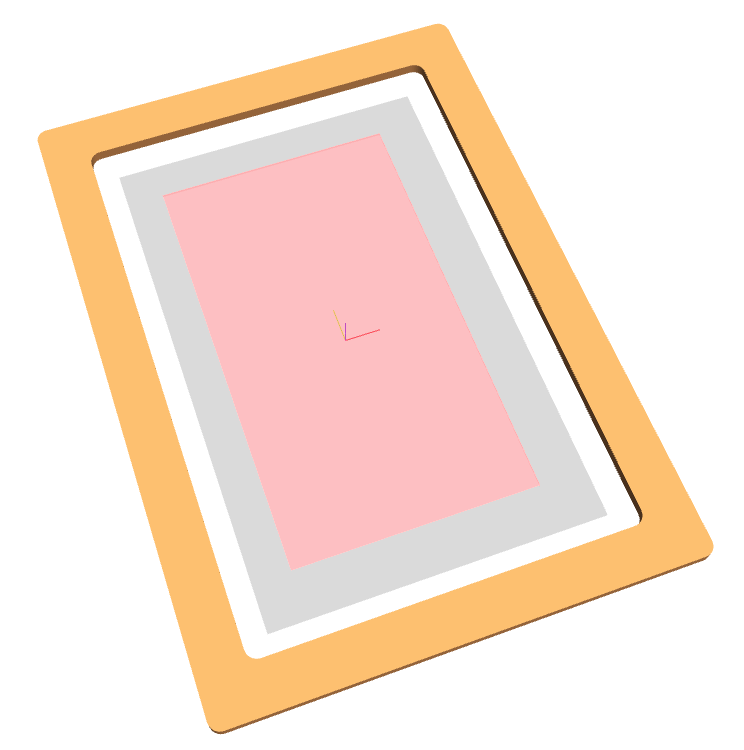
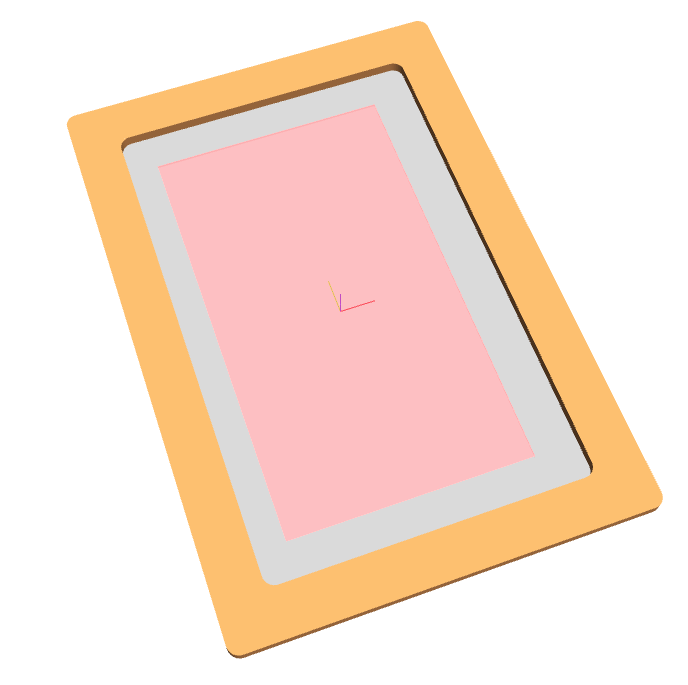
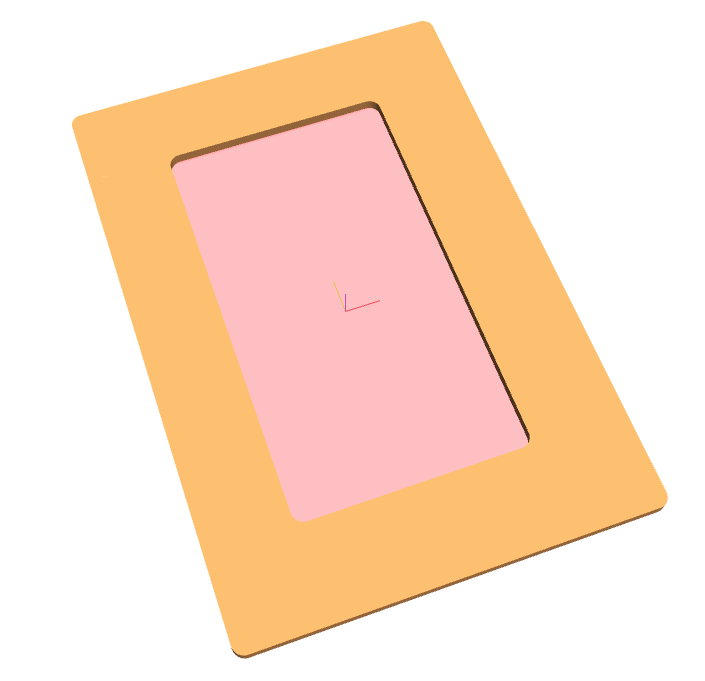
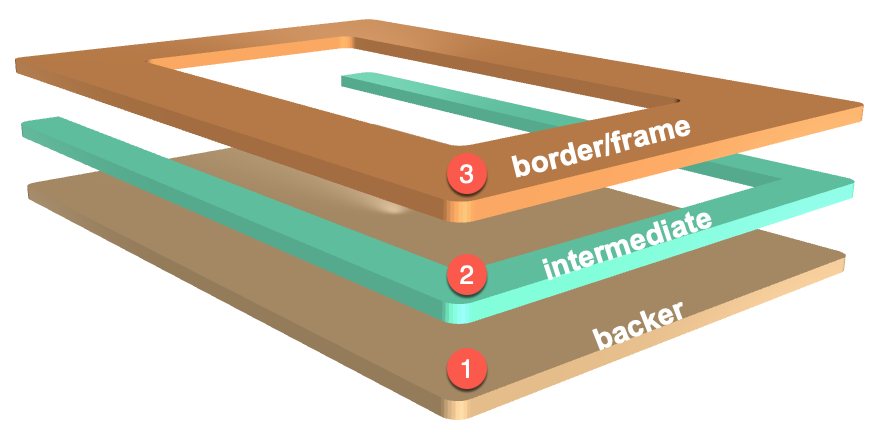
Number of Layers
Dropdown menu options: 1,2,3
1 = backer only.
2 = backer and border/frame.
3 = backer, intermediate, and border/frame.
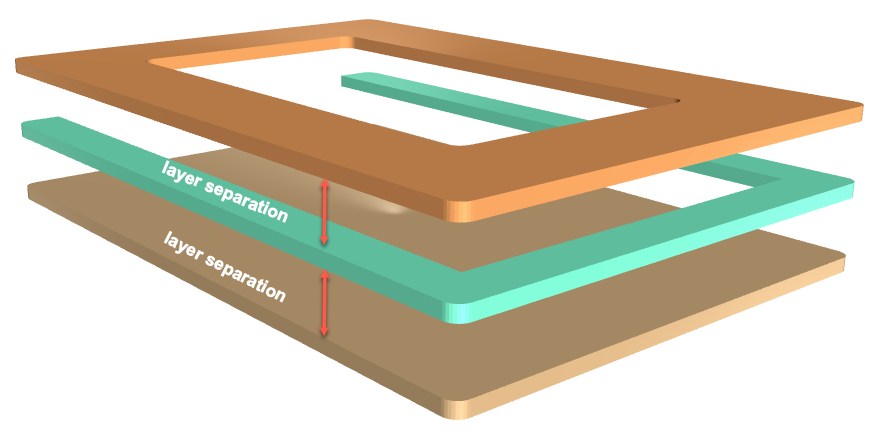
Layer Separation
3D view separation of the layers.
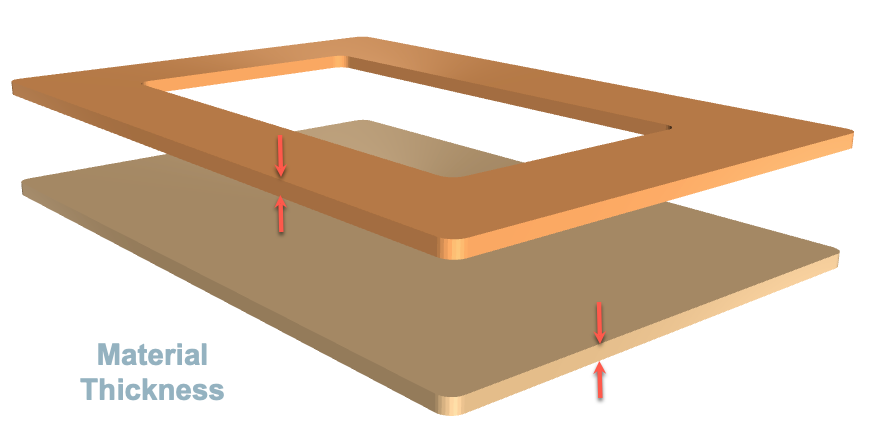
Material Thickness
Thickness of the material being cut.
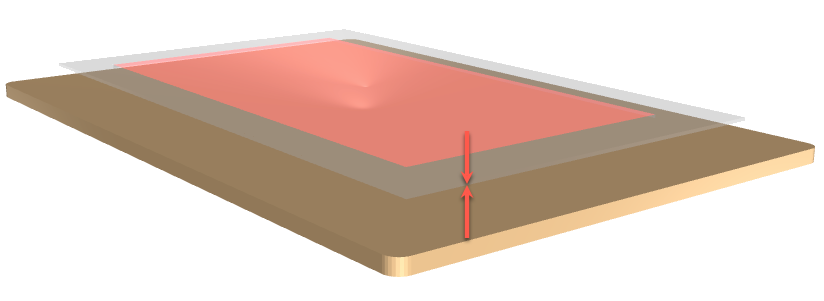
Film Thickness
Thickness of the film.
laser Kerf(slot/tabs)
User will need to determine the correct kerf value for their laser and material. There are plenty of internet resources and tutorial to help with this set-up.
FILM/IMAGE
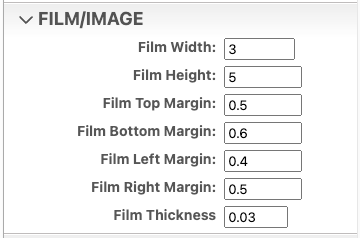
Film Height/Width
Film Margins (left/right/top/bottom)
Film thickness
Enter thickness of film. This is not a critical dimension. Typically default is fine for modeling.
BACKER
Width and Height
Enter in width and height values.
NOTE: Operation must be in Manual to make changes.
INTERMEDIATE
Under Border Concealment
Film allowance tolerance to tuck underneath the border/frame
For 2/3 layers and Operation Fit to Film only
(Fit to Film) Fit Tolerance
Side-to-side clearance from film edge to intermediate layer cutout. For 3 layers and Operation Fit to Film only
BORDER/FRAME
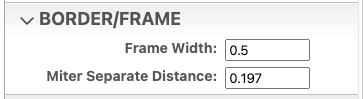
Frame Width
Width of the border/frame.
Miter Separate Distance
Small gap separating the 45 degree miter. For visual display to all miter to be seen on 3D model.
BOTTOM PANEL
Bottom Panel is an option to allow extra space at the bottom of the picture to add custom engravings.
NOTE: Only applicable to RADIUS Border/Frame type. See Border/Frame Type

Include Bottom Panel
Checkbox to allow bottom extension panel functionality.
Bottom Panel Length
Height of the bottom panel extension.

WALL MOUNT
Include Wall Mount Hole
If checked, creates a small hole in the backer to hang on a wall mounted screw.
Wall Mount Hole Diameter
Change diameter to fit desired screw size.
HANGERS
Hangers are small square or round loops attached to the backer which allows the picture frame to be hung by string or ribbon.
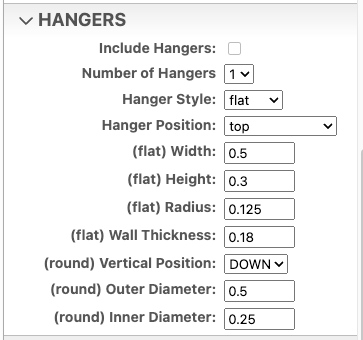
Hanger General Parameters
include Hangers
If checked, round of flat type hangers will be included.
Number of Hangers
Dropdown, choices are 1 or 2 hangers
Hanger Style
Dropdown, choices are flat or round
Hanger Position
Dropdown, choices are top, bottom, top and bottom

Flat Hanger Type Parameters
(flat) Width
Width of the flat type hanger
(flat) Height
Height of the flat type hanger
(flat) Radius
Top corner radius of the flat type hanger
(flat) Wall Thickness
Wall thickness of the flat type hanger
Round Type Parameters
(round) Vertical Position
Vertical position of the round type hanger
(round) Outer Diameter
Outer Diameter of the round type hanger
(round) Inner Diameter
Inner Diameter of the round type hanger
BASE STAND
The base stand attaches at the bottom of the backer assembly and allows the picture frame to free stand.
include Base Stand
If checked, base stand is included in picture frame assembly.
Corner Radius
The corner radius of the base stand.
Overhang
The amound of platform overhang of the base stand.
VIEW/EXPORT
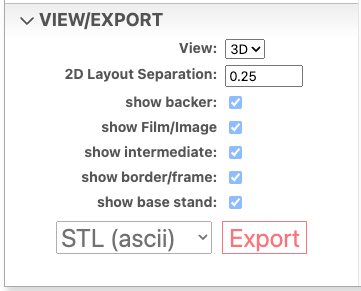
View
dropdown options are 3D and 2D All design/modeling is done in 3D space. When ready to export to SVG or DXF, switch to 2D view.
2D Layout Separation
In 2D flat layout view. Individual components can be separated by entered values.
Show/Hide Parameters
Shortcut ‘View’ keys
To enhance viewing and navigation of 3D and 2D objects, six shortcut keys are available.

3D
2D

Mouse Navigation
Pan (Move)
To pan or move a 2D or 3D model on the screen, press and hold the ‘SHIFT’ key, while at the same time hold down any mouse button (left, right, or scroll wheel). Drag the mouse to move the model around the 2D/3D space.
Orbit (rotate)
To rotate a 2D or 3D model on the screen, press and HOLD down any of the mouse buttons while dragging/moving the mouse.
Zoom
To zoom in or out within the 2D or 3D space, scroll the mouse wheel forward or backward.

Procedures
Export to SVG file
SVG is a native format for laser and CNC cutting machines. To export your 3D box to an SVG file, follow these steps:
- Under the VIEW/EXPORT menu group, select 2D from the ‘View’ dropdown.
- Press the ‘t’ key to display a top down view of the 2D layout.
- Select ‘SVG’ from the file type select dropdown box.
- Press the ‘Export’ button.
- Output SVG will be save in the ‘Downloads’ folder.
Export to STL file
STL is a native format for 3D printing machines. To export your 3D box to an STL file, follow these steps:
Under the VIEW/EXPORT menu group, select 3D from the ‘View’ dropdown.
Select ‘STL (ascii)’ or ‘STL (binary)’ from the file type select dropdown box.
Press the ‘Export’ button.
Output STL will be save in the ‘Downloads’ folder.
OBJ File Export for use in Blender
OBJ file format works great within Blender
- Under the VIEW/EXPORT menu group, select 3D from the ‘View’ dropdown.
- Select ‘OBJ’ from the file type select dropdown box.
- Press the ‘Export’ button.
- Output OBJ will be save in the ‘Downloads’ folder.